Adding New Block via Extension
Extensions provide a powerful way to augment the capabilities of the system by exporting blocks to the block manager. These blocks are loaded on startup, enabling you to create custom components and patches. In this guide, we'll outline how to use extensions to create and export components.
Creating Components with the Composition API
Follow Creating Components with the Composition API , you can use the composition API from the mercs_rete library to create components. First, make sure to import the necessary modules:
Then, you can create components and patches using methods provided by OAIBaseComponent.
Example:
Adding Inputs/Outputs
Follow , you can also define and add inputs/outpus to the component:
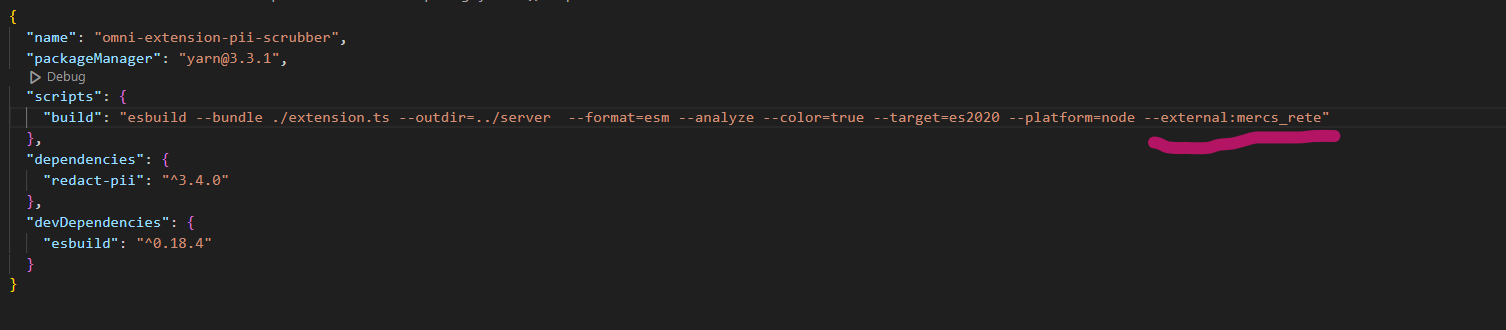
Configuring ESBuild to Avoid Errors
To prevent any errors from being thrown and to avoid bundling mercs_shared, which the server already has, you'll need to externalize mercs_rete. You can do this by adding --external:mercs_rete to the ESBuild in your package.json. This step ensures a smooth building process (because it already is loaded in server memory, no need to bundle it).
Export Components and Patches
Add the supports: ["blocks:v2"] property to the extension.yaml to tell the server to try to load the blocks:
An extension must export an object containing hooks and a createComponents() function. Once you have defined your components and patches, combine them into an array and return them within the createComponents() function as described. The system will automatically load these during startup, incorporating them into the available set of components.
Building the Extension
After making all the necessary updates to your extension code, run the following command to build the extension:
This command compiles your code and generates the extension.js file, which contains the entire extension ready for use. If you are using TypeScript for your extension development, make sure to update the tsconfig.json file with the appropriate configuration for your project.
By following these steps, you can create complex and customizable components and integrate them into the system via extensions. Make sure to follow the guidelines for each type of component or patch and consult the specific documentation related to each class or method for more details.